Hacking Graduation Embroidery with 3D Printing
Custom 3D printed decorations for a graduation sash as a cost-effective alternative to expensive embroidery. Raised gold text with real dimensional depth, secured with a backplate sandwich technique to keep fabric from deforming.
I graduated from USC Viterbi School of Engineering in 2023 with a B.S. and M.S. in Computer Science — and spent most of those years deep in 3D printing and robotics. So when graduation came around and I saw friends getting their sashes embroidered, my first thought was: I can do that better. With just a few days til the ceremony, I opened Fusion 360.
Design
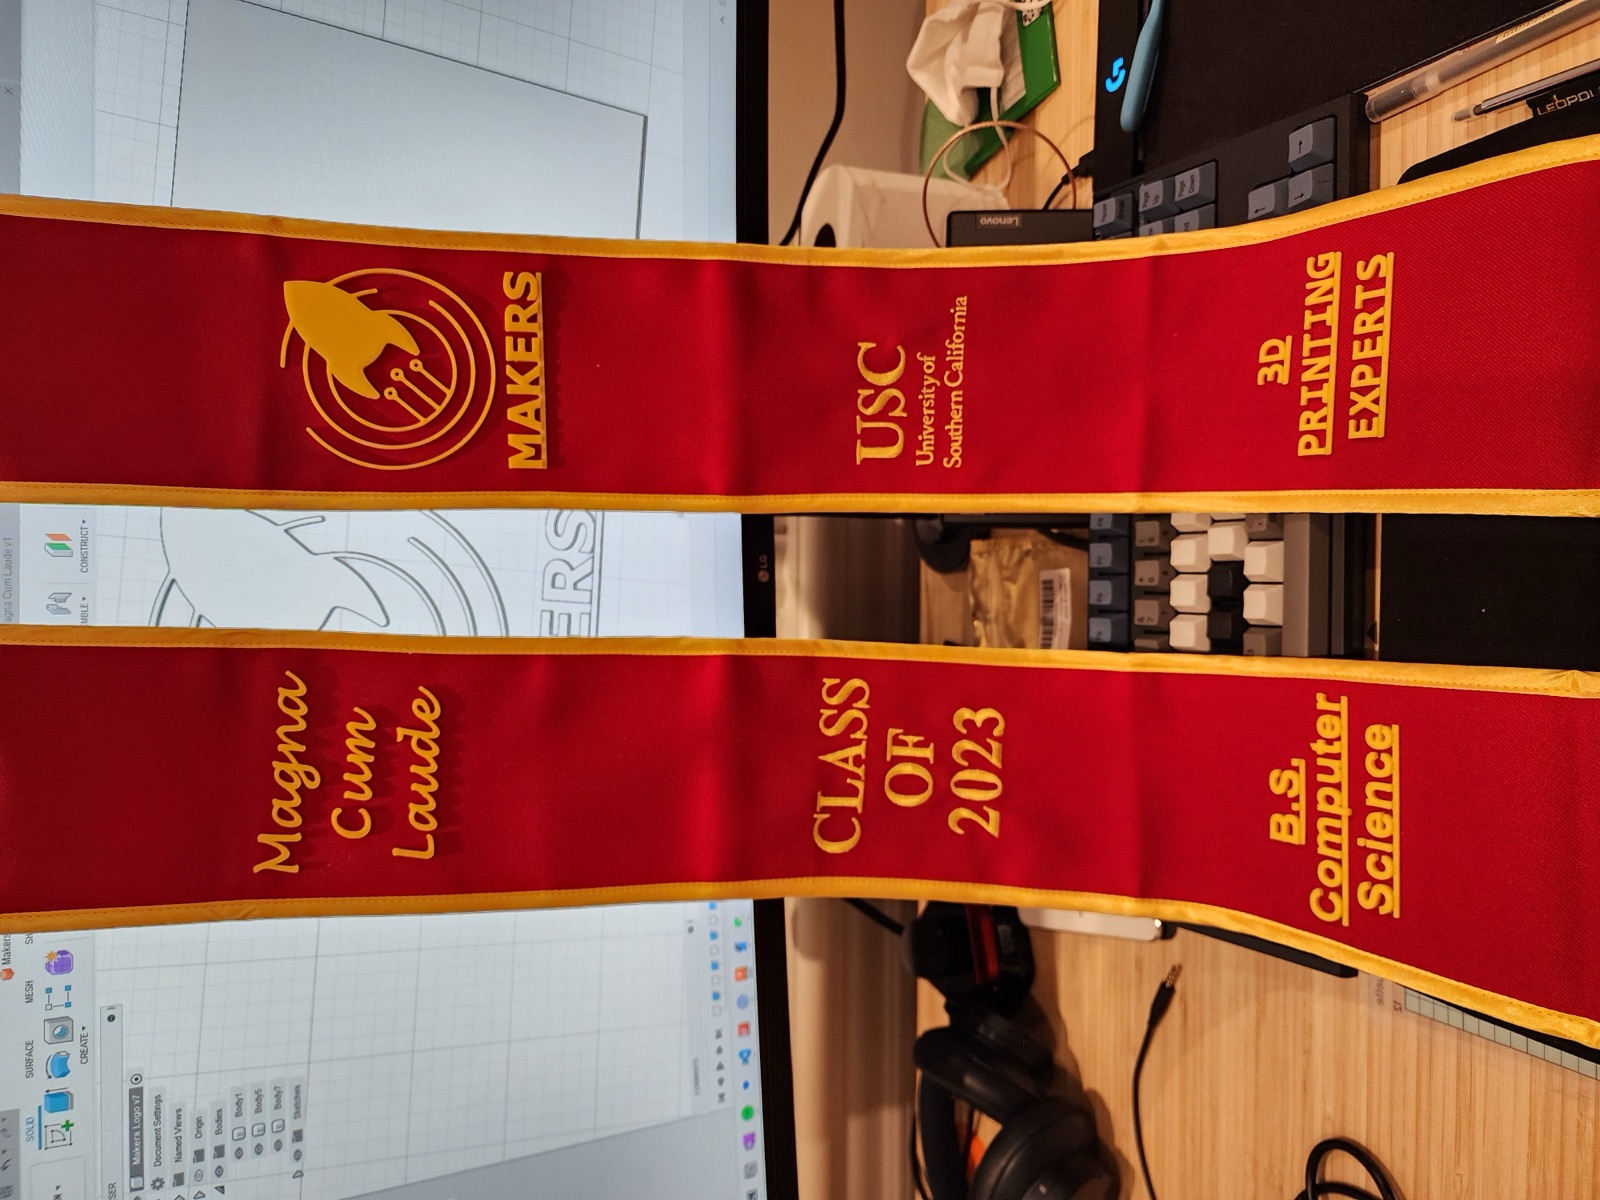
The idea was simple: design raised-letter decorations in gold PLA that would sit on the sash with real three-dimensional depth. Embroidery is flat by nature — 3D printing isn’t. That difference would be visible.
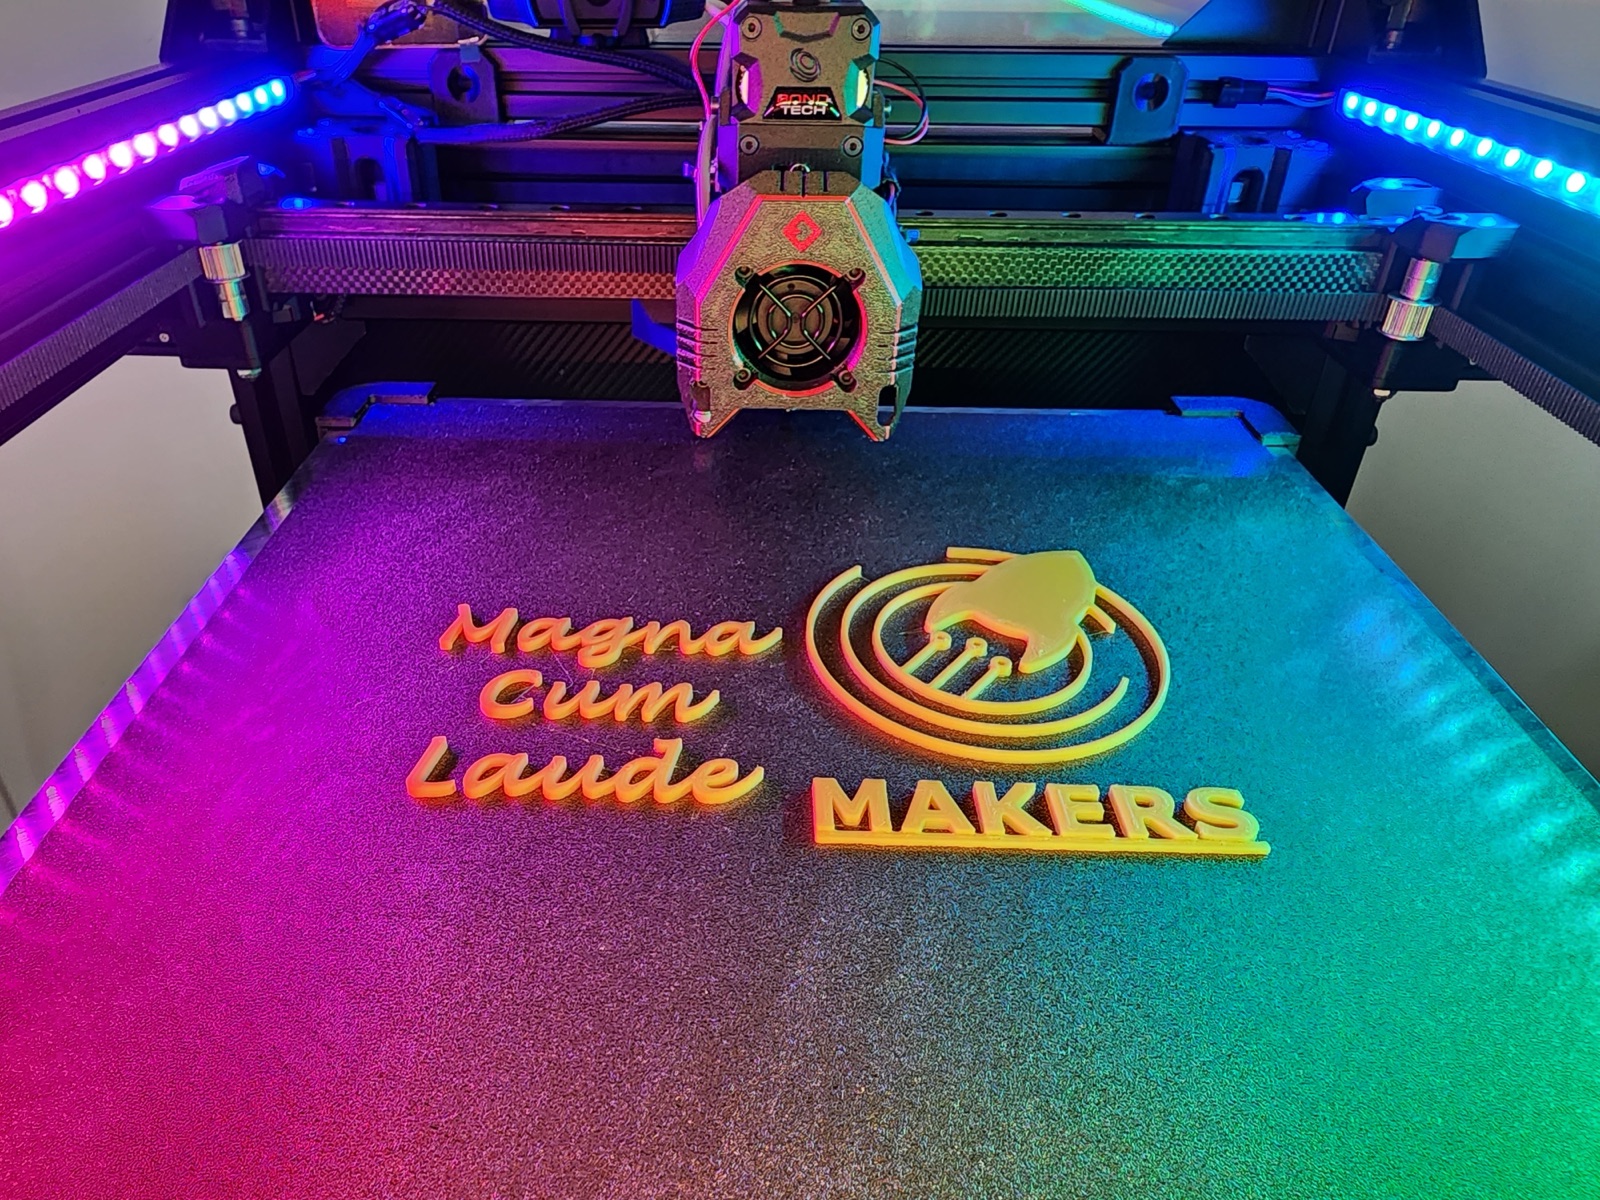
I opened Fusion 360 and modeled six pieces:
- Magna Cum Laude — cursive script, to give it a different feel from the rest
- Class of 2023 — block letters
- B.S. Computer Science — block letters
- MAKERS logo — rocket + circuit board circle, the USC engineering club
- USC — block letters
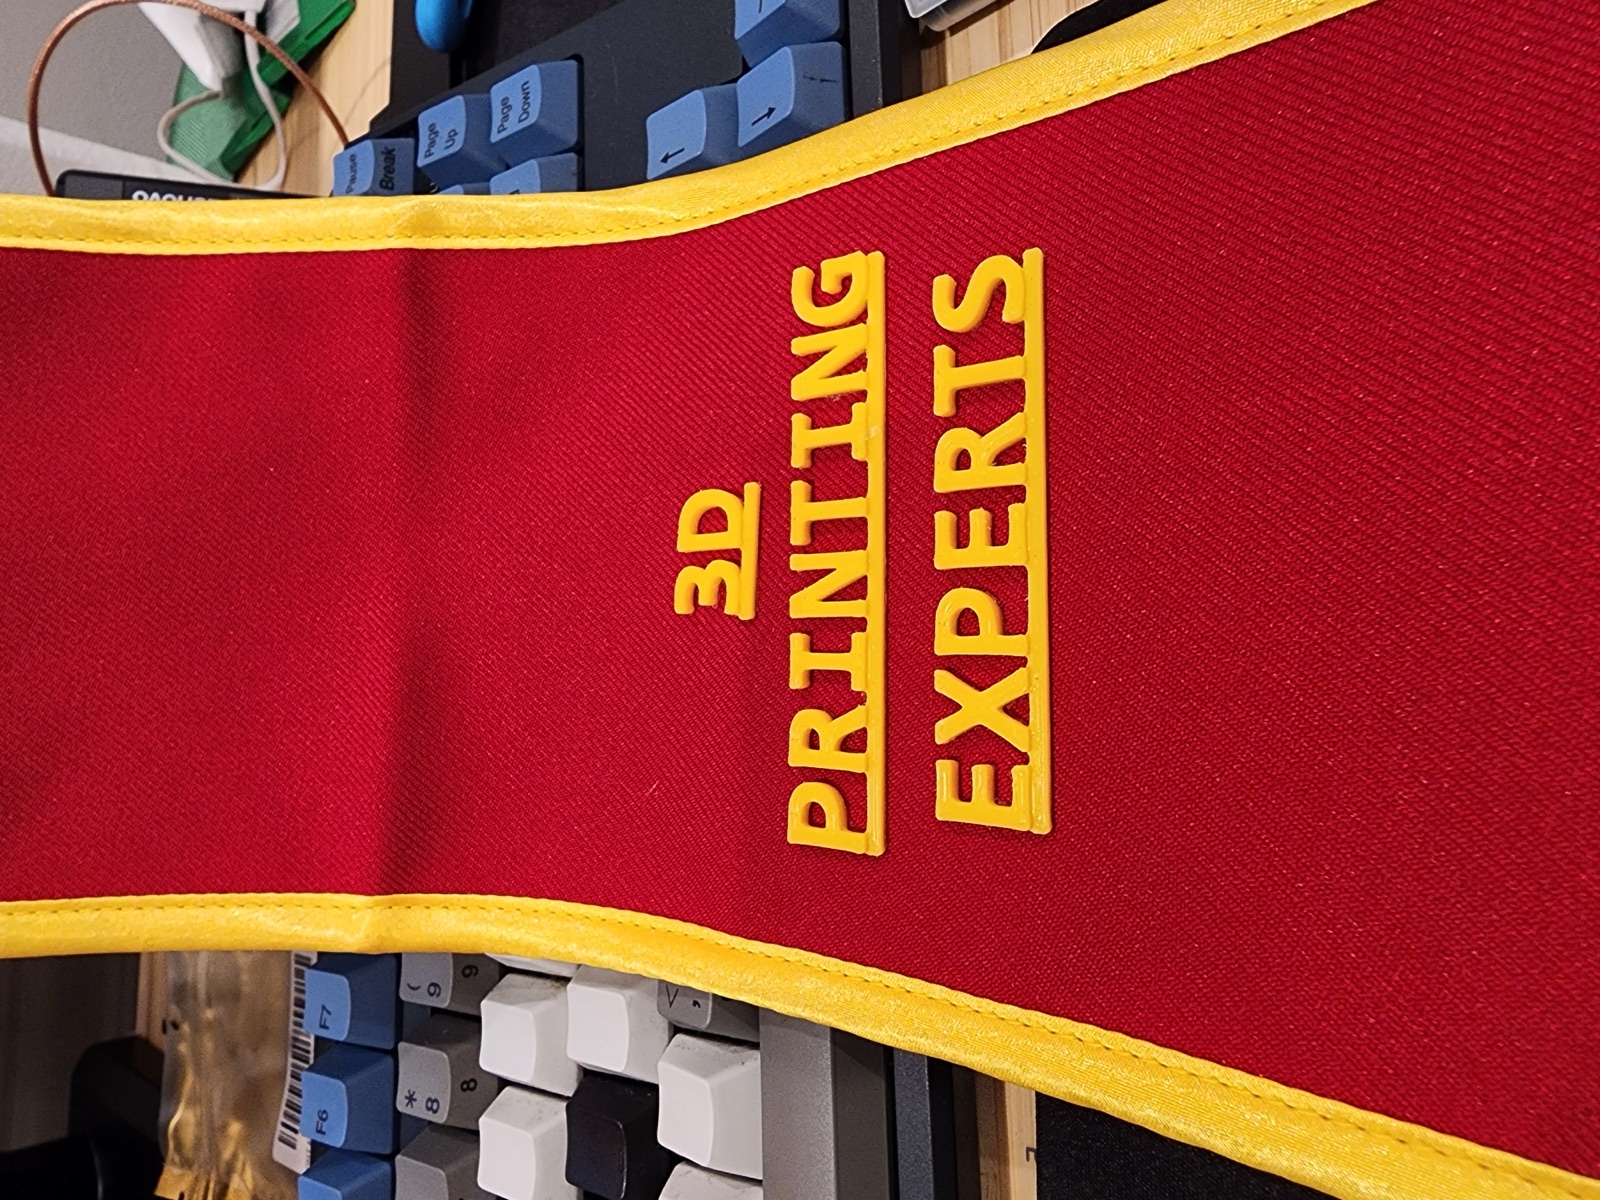
- 3D Printing Experts — block letters. Given the circumstances, it had to be on there.
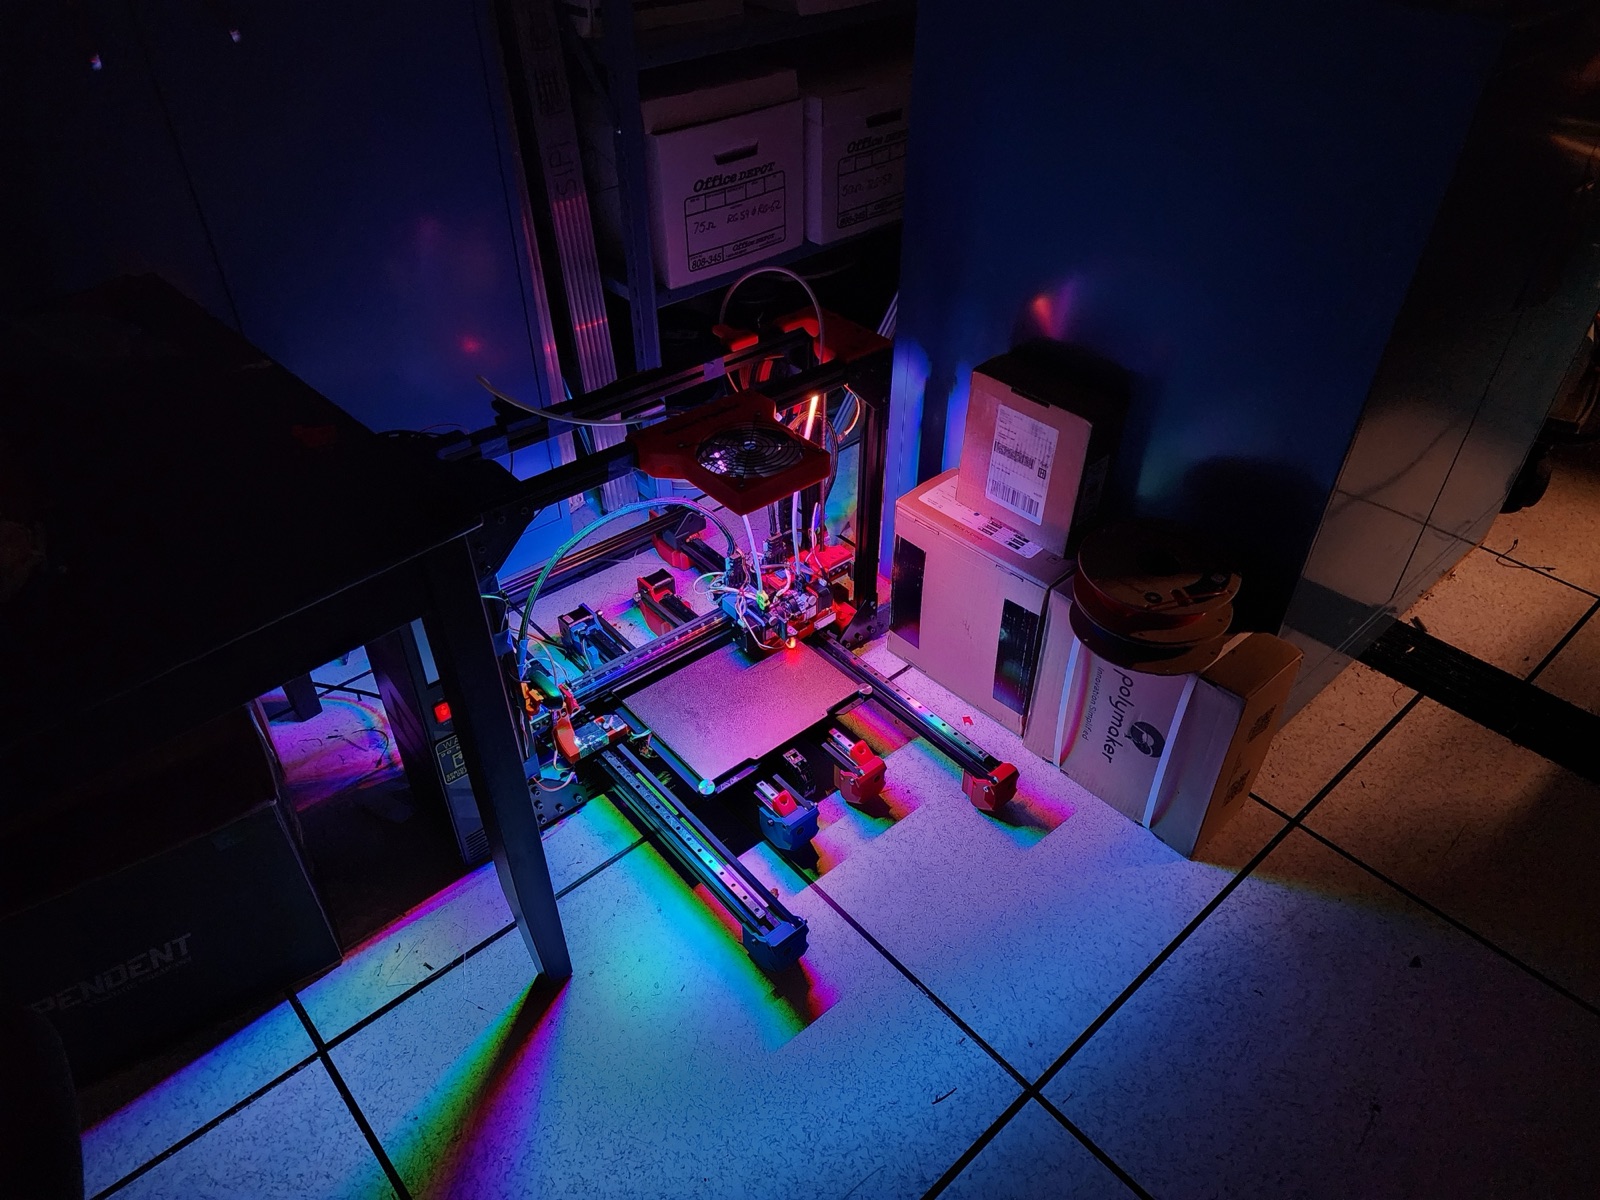
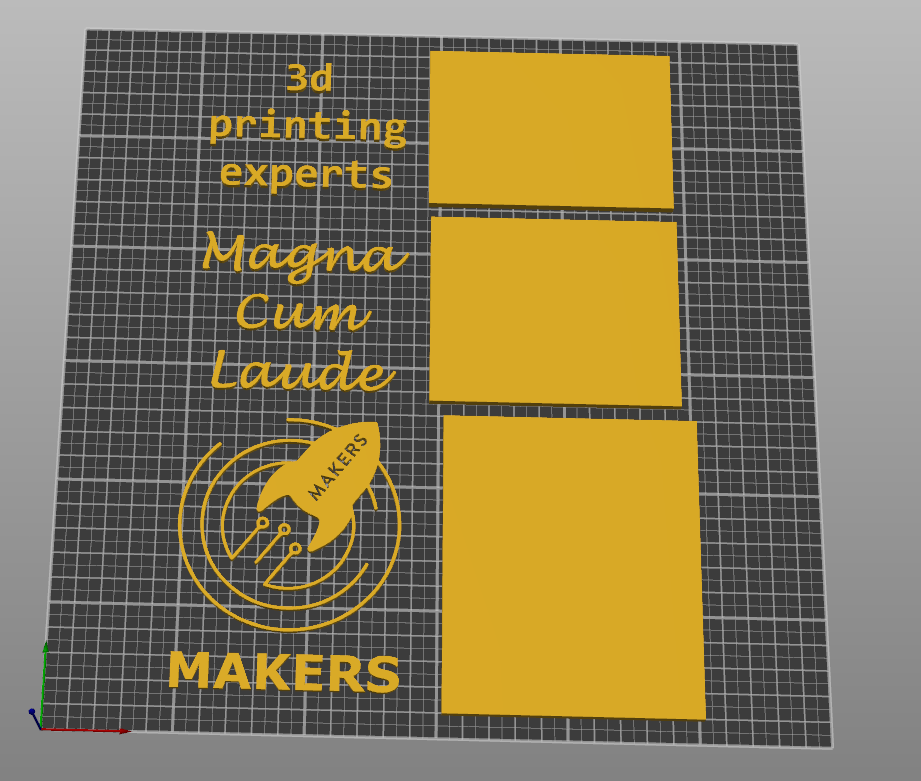
Some pieces had an underline added beneath the lettering to connect all the characters into a single solid piece — without it, individual letters would print separately and be nearly impossible to handle or attach cleanly. Print height landed around 2mm — enough to cast a real shadow and feel tactile without becoming so thick the pieces start fighting the flexible sash fabric. All pieces were printed on my heavily modded V-Core 3.
The Attachment Problem
Cloth tape on its own adheres really well — that wasn’t the concern. The issue was the sash fabric itself. Satin is soft and flexible, and a sash moves constantly: folding, shifting, draping differently throughout a ceremony. Over time, that movement could work the tape loose from the edges of each piece.
Rather than find out the hard way mid-ceremony, I pre-emptively built in a backplate sandwich. For each decoration, I printed a matching flat backing plate with the same footprint — no raised lettering, just a plain rectangle. The sash fabric sits between the backplate on the inside and the raised-letter piece on the outside, with cloth tape bonding both sides through the fabric. The backplate stiffens that section of the sash locally, reducing the flex right at the attachment point and giving the tape a much more stable surface to grip on both sides.
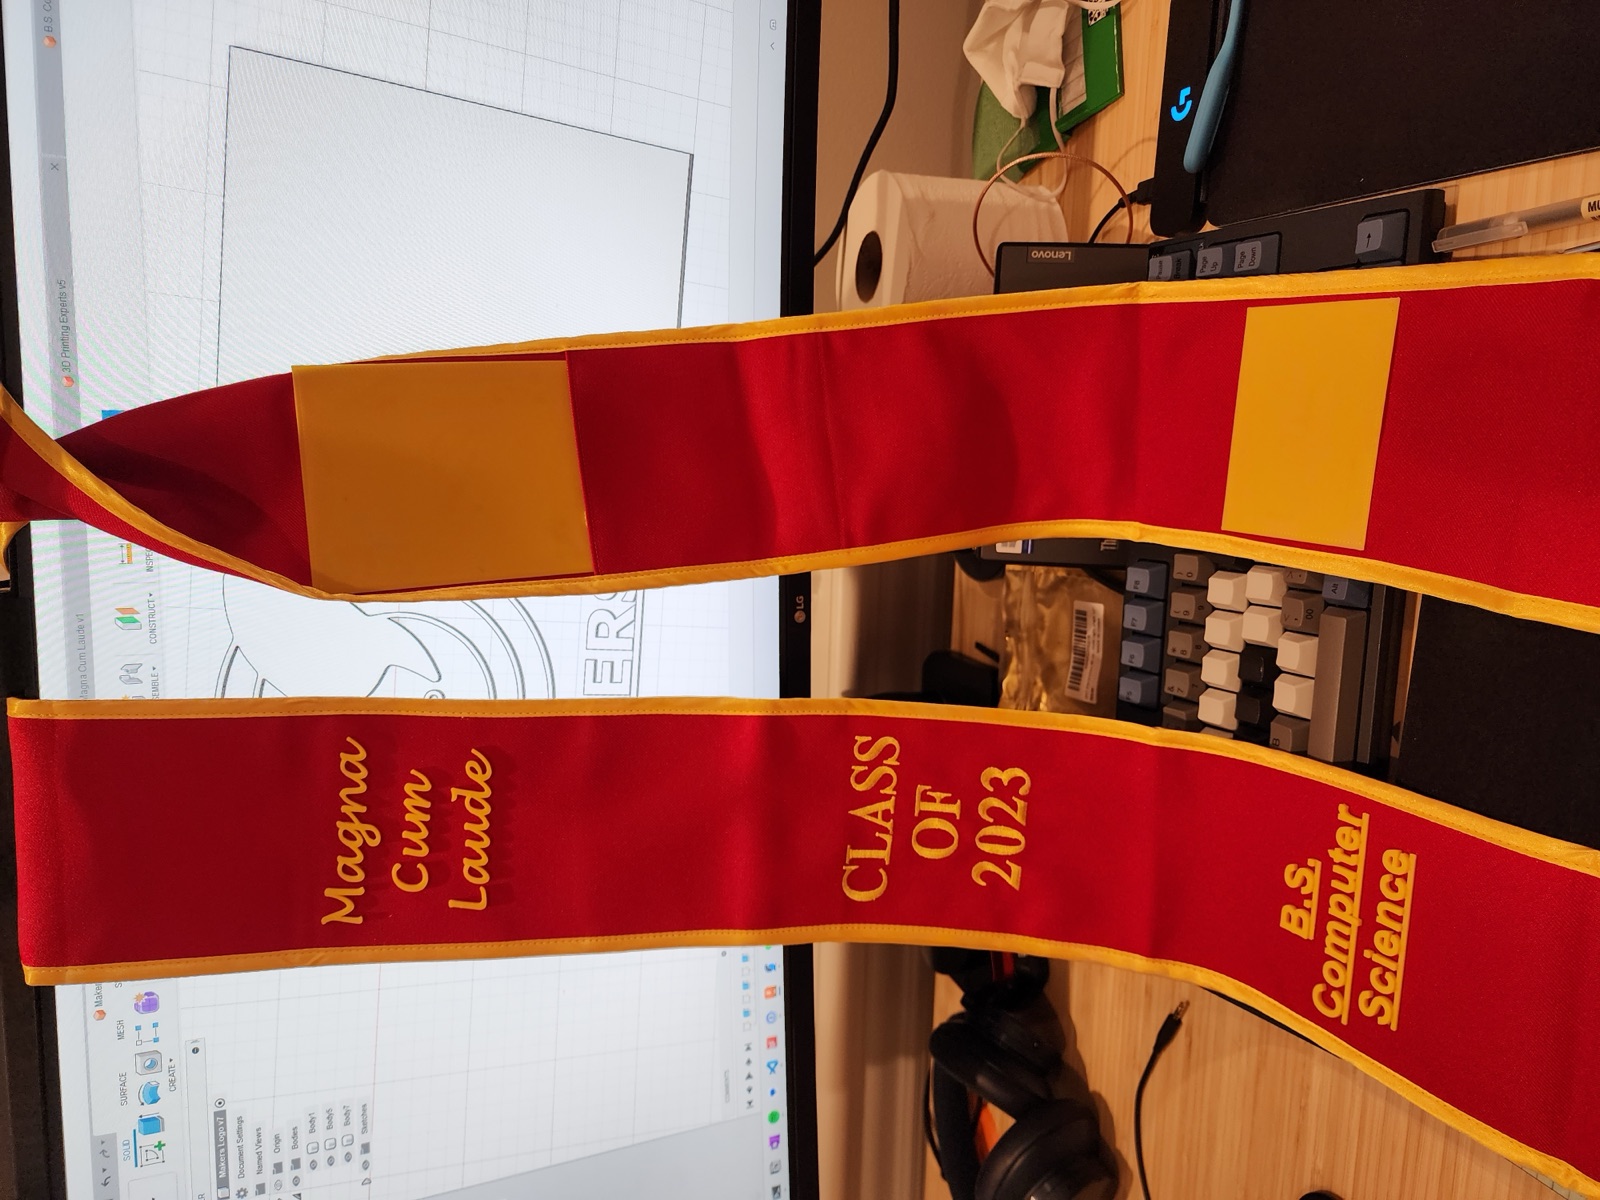
Same sash, both sides: decorated front on the left, backplate on the reverse on the right.
Result
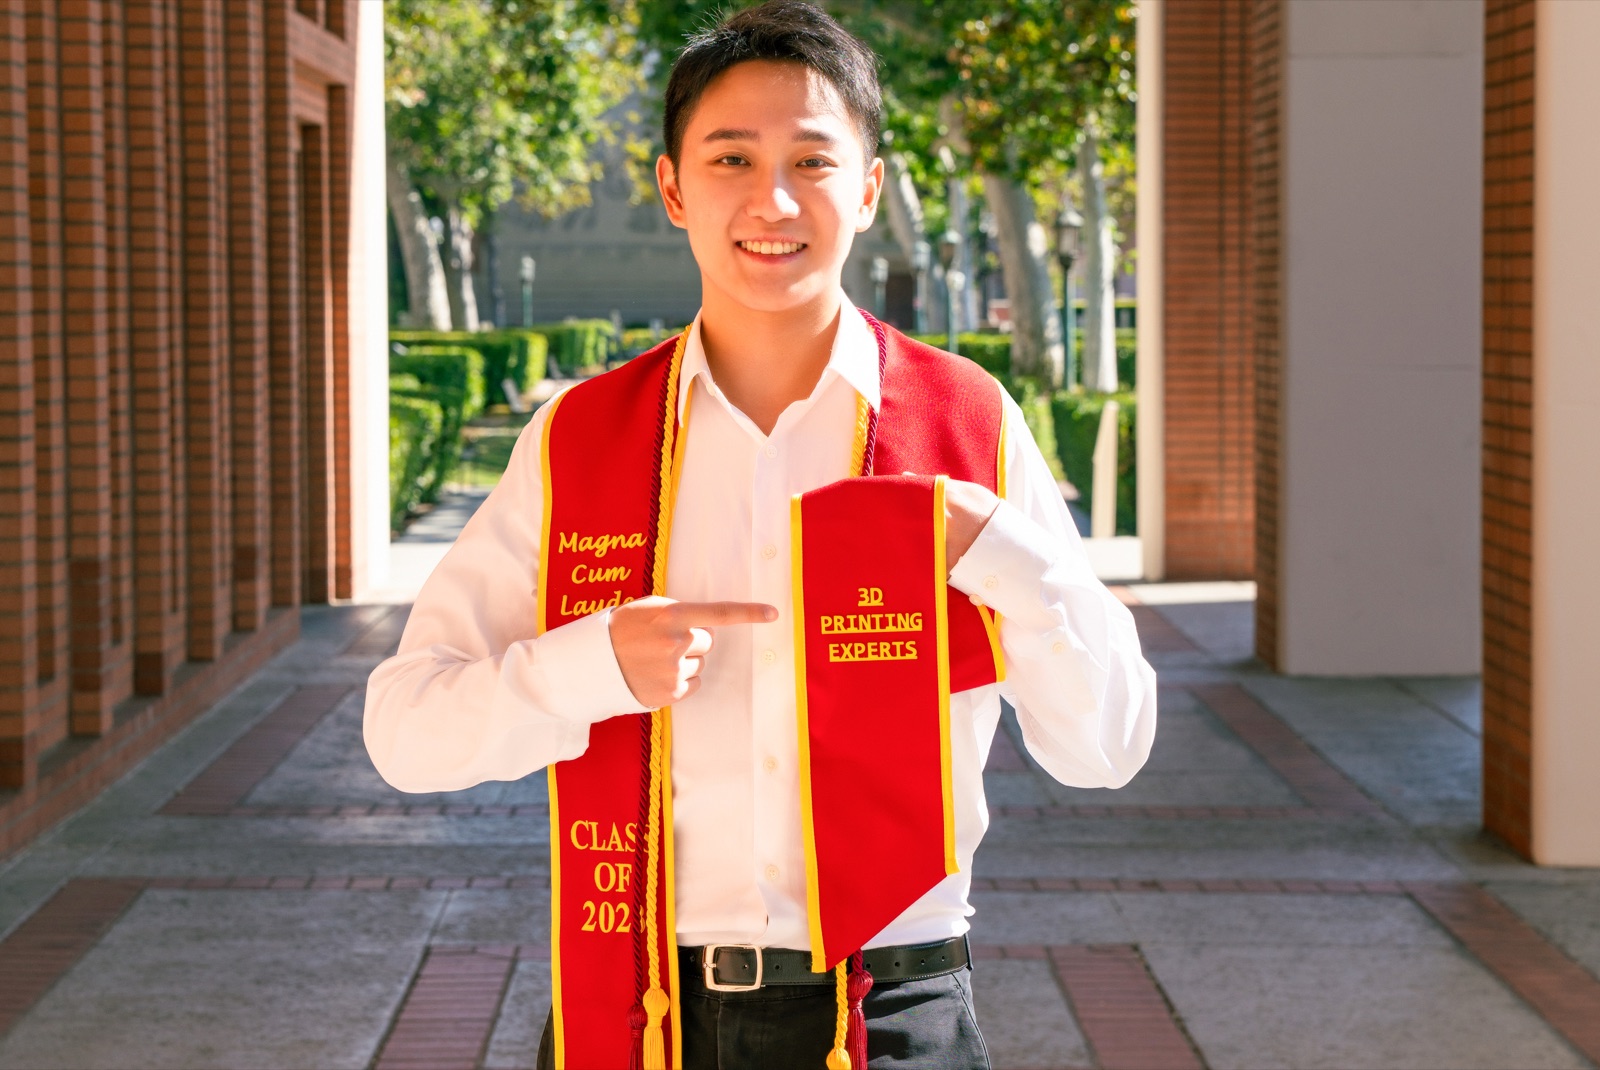
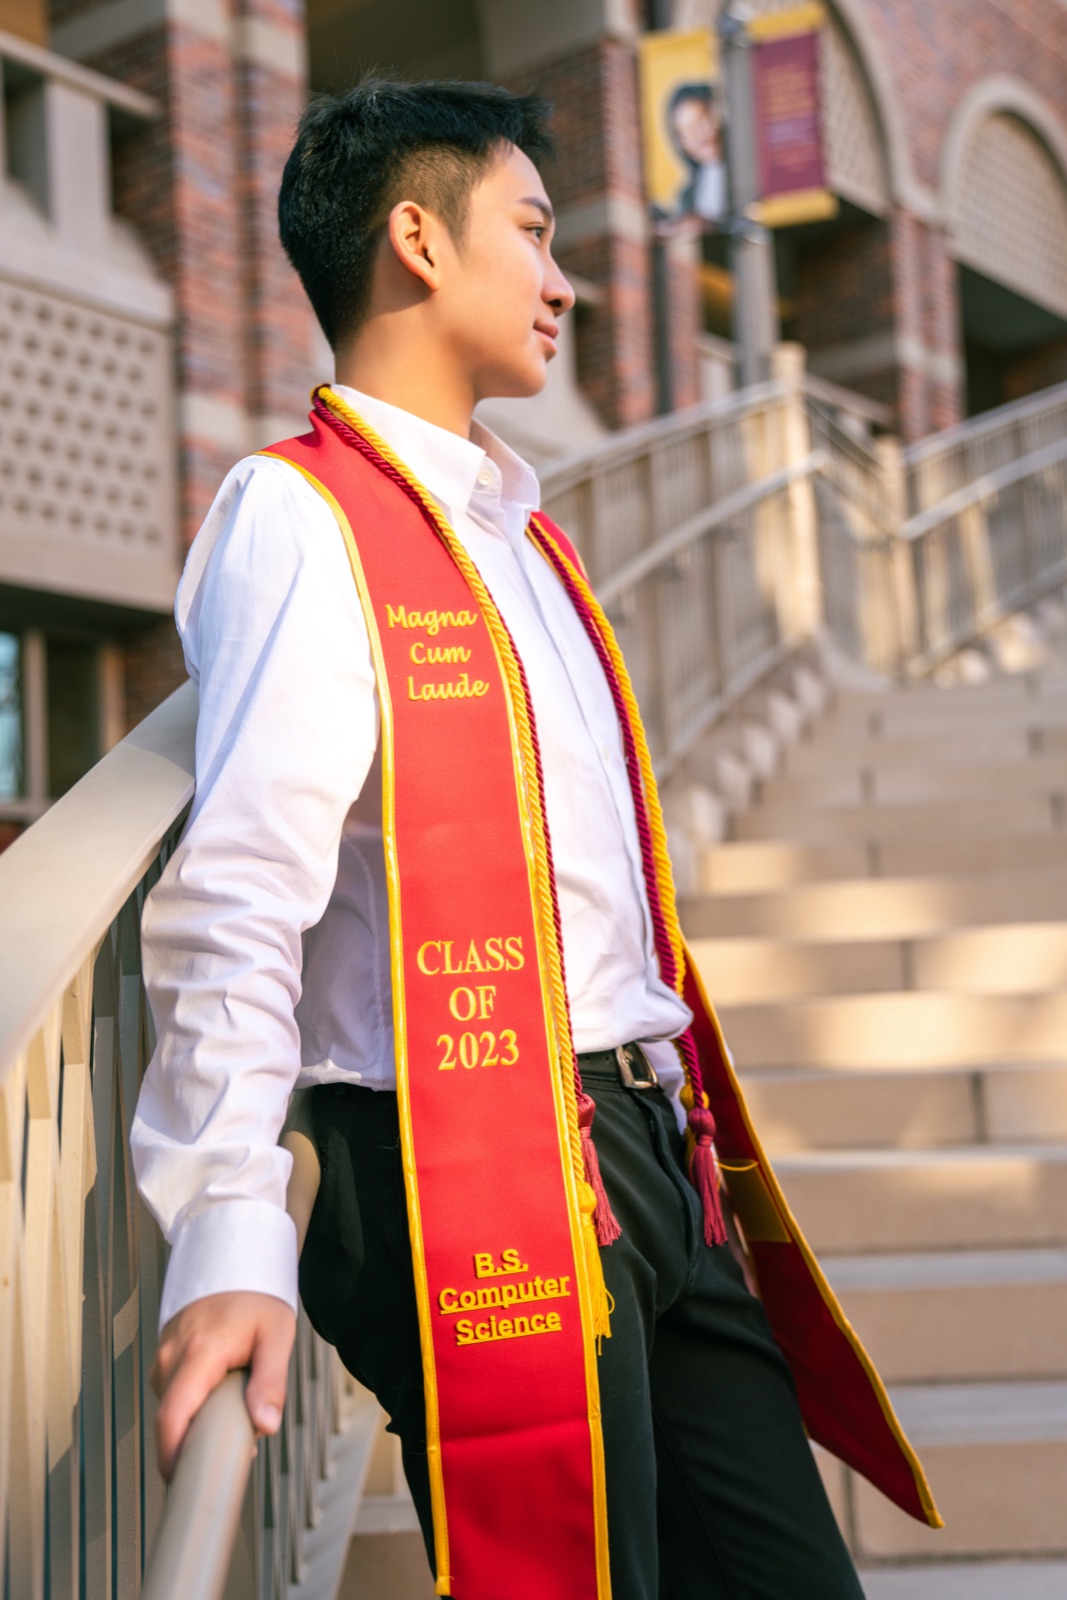
Everything came out cleaner than expected. The raised lettering reads clearly from a distance and photographs extremely well. Flat embroidery genuinely can’t replicate the depth.
All six pieces held through the full ceremony and a long outdoor photo shoot without shifting or peeling. For something thrown together in a few days, it ended up being one of the more memorable things I built at USC.

Discover more...
Spidy - Arduino Octopod Robot
The Pipeline: Automating 3D Printing at Scale